
Last updated November 15, 2026
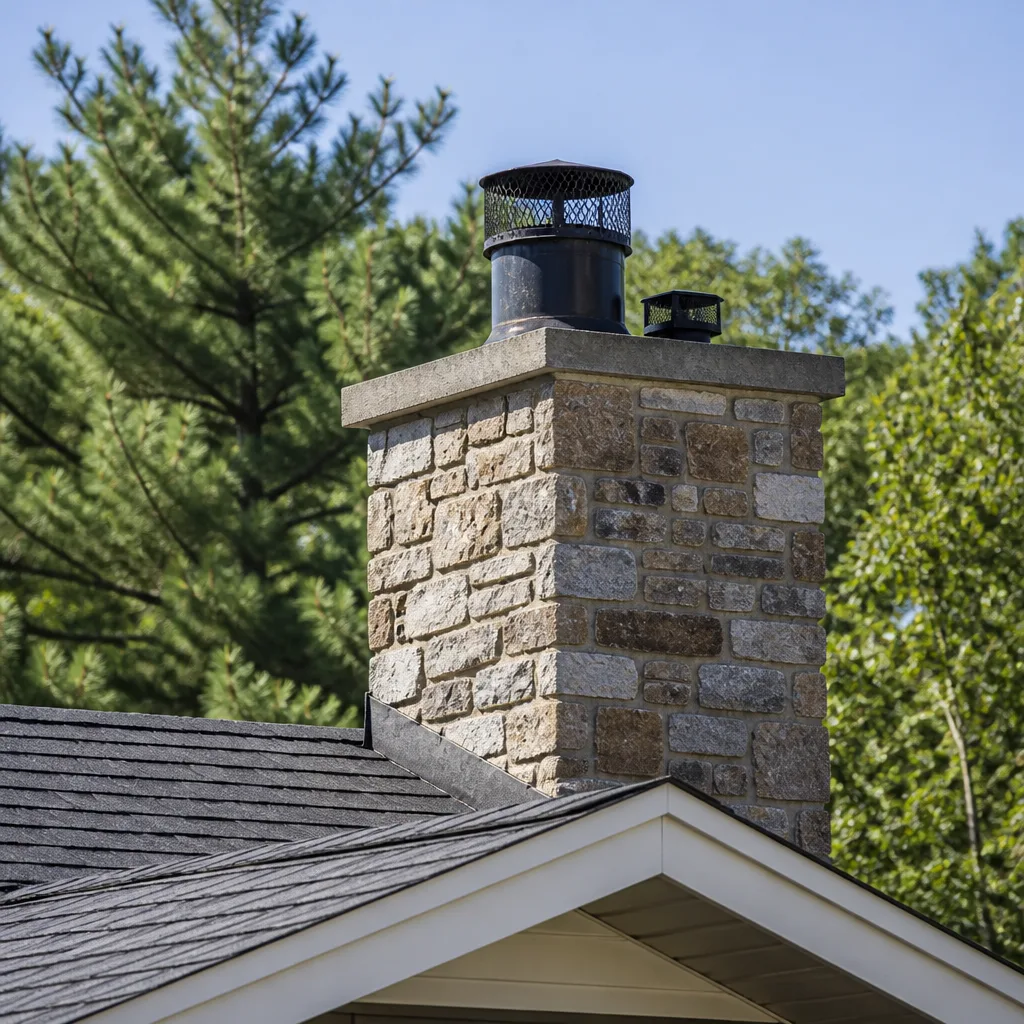 Sweep & inspection
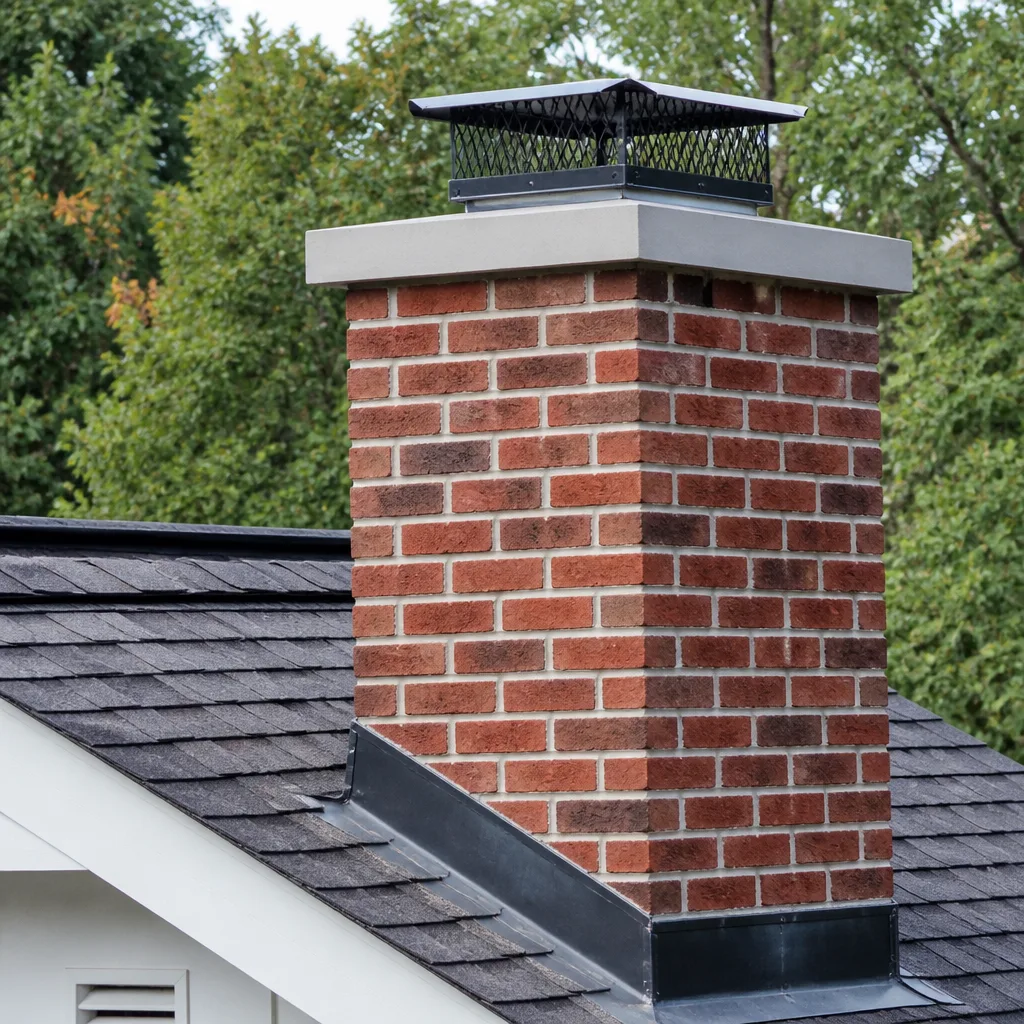 Caps & crowns
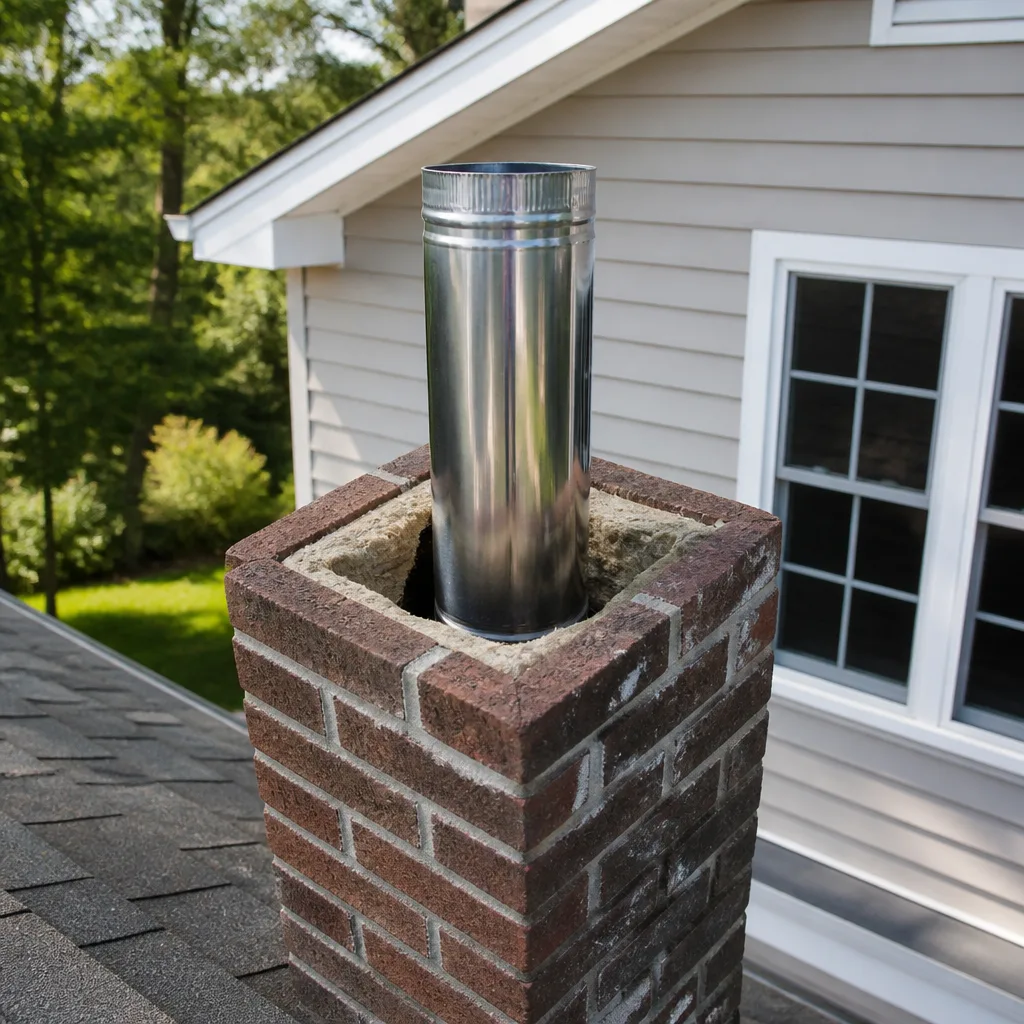 Flue relining
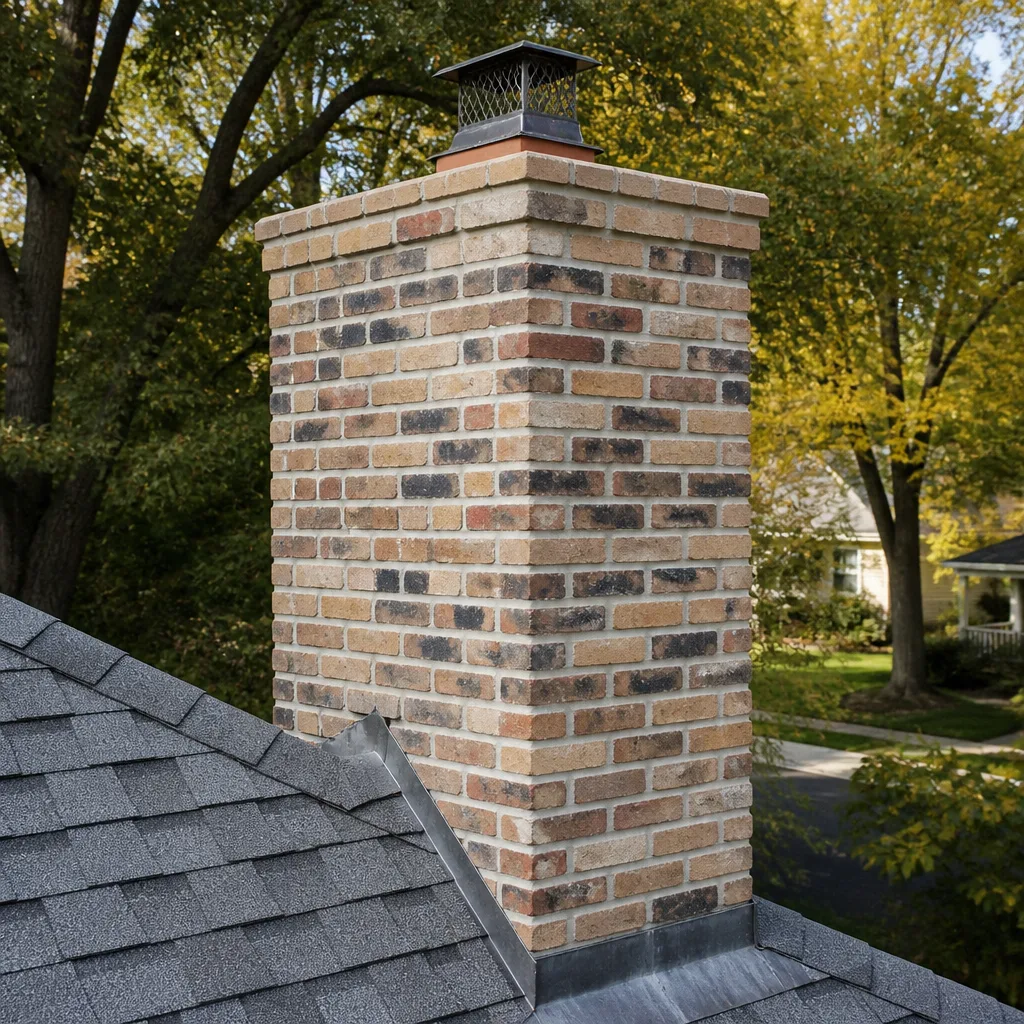 Masonry repair
 Gas fireplace service
Level 1 sweep and inspection to the NFPA 211 annual standard - flue, crown, cap, and flashing checked and photographed
Chimney sweep logs do not sweep chimneys. They loosen some creosote - which then falls where a brush and vacuum still have to collect it.
Chimney Sweep Maintenance Checklist for Reno Homeowners
Most chimney advice you’ll find online was written for a house in a mild, humid climate, and it doesn’t fit here. Reno chimneys live through a short, intense burn season followed by a freeze-thaw winter that works on masonry in a way the generic “sweep it once a year” advice never accounts for. The checklist that actually protects a Reno home is timed to that calendar, not to a page in a homeowners association newsletter. In this guide we’ll walk through a month-by-month maintenance calendar for Reno, explain which problems you can spot yourself from the firebox or the ground and which ones need a trained eye and a camera, and show you how to keep a record that follows the house when you sell it.
Quick Answer
A chimney maintenance checklist for Reno should be organized around the local calendar rather than generic seasons: pre-burn-season prep and a professional sweep and inspection in September, owner checks after heavy use through the winter, and a post-freeze masonry and flashing inspection in March once the freeze-thaw cycle eases. Throughout the year you track creosote, cap and flashing condition, and draft, and you log everything so the record travels with the home at resale. A wood-burning chimney generally needs sweeping and inspection annually; a gas appliance still needs an annual inspection even though it produces far less creosote.
Styles & brands we work with
- Sweep & inspection
- Caps & crowns
- Flue relining
- Masonry repair
- Gas fireplace service
Table of Contents
- Why Reno Chimneys Age Differently
- The Reno Month-by-Month Maintenance Calendar
- What You Can Check Yourself vs. What Needs a Camera
- Freeze-Thaw, Mortar, and the March Inspection
- After a High-Wind or Washoe Zephyr Event
- What Documentation to Request and Where to Keep It
- The Three Levels of Chimney Inspection, Explained
- Building a Chimney Record That Follows the Home
Why Reno Chimneys Age Differently
Reno sits in a high-desert valley where the burn season is concentrated from roughly October through March, and the winter that follows is defined by repeated freezing and thawing. That combination is harder on a chimney than a long, gentle heating season would be. During the burn months the flue sees steady, heavy use, which builds creosote faster than occasional weekend fires ever would. Then, once the fires go out, the masonry keeps getting worked on by the weather.
Freeze-thaw is the part most homeowners underestimate. Water gets into a hairline crack in the mortar or behind the flashing, freezes overnight, expands, and widens the crack a little. It thaws the next day, more water gets in, and the cycle repeats. Reno sees this pattern many times over a single winter, and each cycle is a small stress event for the mortar joints, the crown, and the flashing at the roofline. The damage is cumulative and quiet. You usually don’t notice it during the season; you notice it in spring, when a joint that looked fine in October has opened up.
That’s why a maintenance checklist for a Reno home can’t be a single annual checkbox. It has to spread tasks across the year and pay attention to the moments when the chimney is under the most stress. Understanding this rhythm is the whole point of organizing your maintenance around it. If you’d rather have a specialist handle the diagnostic side from the start, our chimney sweep service is built around inspecting before anything gets recommended.
The Reno Month-by-Month Maintenance Calendar
The calendar below is the core of this guide. It’s written specifically for a Reno home with a wood-burning fireplace or stove, with notes for gas appliances where the schedule differs. Treat the months as windows, not fixed dates, and move a task earlier if the weather or your own schedule calls for it.
September: Pre-Burn-Season Prep
- Book your annual sweep and inspection before the season starts, when scheduling is easiest and any repair can be done before you need the fireplace.
- Have the flue swept so you begin the season with a clean liner, free of last year’s creosote.
- Get a professional inspection that covers the firebox, damper, flue, cap, crown, and flashing, with a camera view of the liner.
- Clear any debris, leaves, or animal nesting from the flue and around the cap.
- Test the damper by hand to confirm it opens and closes fully.
- Check that the cap and spark screen are intact and seated properly.
- Confirm your smoke and carbon monoxide detectors work and have fresh batteries.
October through March: During the Burn Season
- Watch for smoke rolling back into the room instead of going up the flue. That’s a draft problem, not a cosmetic one.
- Notice any change in how the fire burns: harder to start, weaker draft, or a different smell. Changes often signal a partial blockage.
- Feel the firebox and the outside of the chimney breast for unusual warmth beyond normal operation.
- Keep an eye on the cap after storms, since wind can displace it.
- Empty the ash pan regularly and keep the firebox clear of excess ash buildup.
March: Post-Freeze Masonry Inspection
- Once the freeze-thaw cycle eases, have the masonry, crown, and flashing inspected for cracks that opened over the winter.
- Look at the crown from the ground for visible cracking or separation at the edges.
- Check the flashing where the chimney meets the roof for gaps or lifted edges.
- Note any white, chalky staining on the masonry, which can point to moisture working through the brick.
- Schedule any masonry or flashing repair in spring, before summer heat locks the damage in.
April through August: Off-Season Repair Window
These are the months to handle repairs you identified in spring, whether that’s a crown rebuild, flashing work, or relining. The weather is favorable, the burn season is over, and a repair done now is settled in well before October. This is also a good window to have the cap and damper hardware checked, since products from brands like Gelco and Famco are the kind of weatherproofing components a specialist can fit in a single visit.
What You Can Check Yourself vs. What Needs a Camera
It helps to know where the line sits between what a careful homeowner can observe and what genuinely requires a trained specialist with equipment. Checking the observable items yourself is useful; it doesn’t replace a professional inspection, but it means you’ll notice a change early and describe it accurately when you call.
Observable from the Firebox or the Ground
- Smoke behavior when you light a fire: does it draw up cleanly or spill into the room?
- Damper operation by hand, including whether it seats fully when closed.
- Visible creosote on the firebox walls and the smoke chamber just above the damper.
- The condition of the cap and spark screen from the ground or a window.
- Visible cracking on the crown or the chimney’s exterior masonry.
- Flashing condition at the roofline where the chimney meets the shingles.
- White staining or efflorescence on exterior brick.
Requires a Professional Inspection and Liner Camera
- The full interior of the flue, including the upper sections a hand light can’t reach.
- Hidden cracks, gaps, or separation in the liner itself.
- Creosote thickness deep in the flue, which determines whether a sweep is enough or the liner needs attention.
- The smoke chamber and the inside of the crown, where deterioration starts out of sight.
- Whether the liner is correctly sized and connected to the appliance.
- Structural issues in the masonry that only show up under close inspection.
That last group is exactly why we inspect before we recommend anything. A liner camera shows the actual condition of the flue, so any recommendation is backed by evidence you can see rather than a sales pitch. If you’d like the diagnostic side handled properly, our chimney repair service starts with that inspection and works outward from what it finds.
Freeze-Thaw, Mortar, and the March Inspection
Of everything on the calendar, the March inspection is the one Reno homeowners skip most often, and it’s the one that matters most in this climate. By March the chimney has been through a full winter of expansion and contraction, and the damage that accumulates is exactly the kind that hides until it’s expensive.
Here’s what the freeze-thaw cycle actually does to a Reno chimney. Masonry is porous, so the brick and mortar joints absorb moisture from snow, rain, and condensation. When temperatures drop, that moisture freezes and expands, stressing the joint from the inside. When it thaws, the joint relaxes, but it doesn’t fully close. Over the course of a winter this opens hairline cracks into real ones. The crown, which caps the top of the chimney and sheds water, is especially vulnerable, because it takes the freeze-thaw cycle directly and any crack in it lets water straight into the masonry below. Flashing, which seals the joint between the chimney and the roof, works through the same stress, and a small separation there is often the entry point for water into the attic and ceiling.
A March inspection checks for exactly this. It looks at the crown for cracking and separation, the mortar joints for opened gaps, the flashing for lifted edges, and the masonry for the white staining that signals moisture. Catching these in spring means a repair can be done in the off-season, before the next winter drives the same cracks deeper. Waiting a year or two is how a routine repointing turns into a rebuild. If you’ve noticed cracking on the crown or masonry but aren’t sure how serious it is, that’s a call worth making sooner than later: reach us at (844) 543-7293 and we’ll take a look.
After a High-Wind or Washoe Zephyr Event
Reno gets strong wind events, and the region’s well-known Washoe Zephyr is part of the local weather vocabulary. After any sustained high-wind event, it’s worth walking outside and looking at the chimney with fresh eyes. Wind does a specific kind of damage, and knowing what to check makes the walk useful.
- Cap displacement. The cap or spark screen can shift, lift, or come loose under strong gusts. A cap that’s no longer seated properly lets rain and animals straight into the flue.
- Flashing separation. Wind works at the flashing at the roofline, lifting edges and opening the seal between chimney and roof. Look for lifted or curled edges.
- Animal intrusion. A displaced cap or screen opens the flue to birds and other animals looking for shelter. If you hear scratching or notice debris at the firebox, don’t light a fire until it’s been checked.
- Loose masonry and spalling. Wind can loosen already-weakened brick or knock off spalled pieces. Look for fresh debris on the roof or ground near the chimney.
- Draft changes. After a wind event, notice whether the fireplace still draws properly. A change can indicate debris or a blockage in the flue.
If any of these turn up, treat the fireplace as out of service until a specialist has looked at it. A displaced cap or an animal in the flue isn’t a wait-and-see situation. Our technicians have up to 10 years of experience diagnosing exactly this kind of post-storm condition, and the fix is often as simple as reseating a cap or fitting a new one from the Gelco or Famco line. What matters is checking, not guessing.
What Documentation to Request and Where to Keep It
One of the most overlooked parts of chimney maintenance has nothing to do with the chimney itself. It’s the paperwork. A well-kept record proves the chimney has been maintained, supports a repair history if you ever sell, and gives the next owner a starting point instead of a mystery. When you have any service done on your chimney in Reno, ask for the following minimum documentation.
- A written inspection report that lists what was checked, at which inspection level, and the condition found at each part of the system.
- Photos or a camera report of the flue and any areas of concern, so the condition is documented rather than described.
- The sweep record, including the date and what was removed, so the next sweep has a baseline.
- Any repair recommendation in writing, with the reason it’s needed and whether it can safely wait.
- The materials and brands used for any repair, such as a HeatShield liner resurfacing or a DuraFlex reline, so future work can match what’s installed.
- The written estimate for any work performed, kept alongside the invoice.
Store all of it in one place: a physical folder near the fireplace, or a digital folder you’ll remember. The point is that a single file holds the whole history, so nothing depends on memory. When you sell the home, that file goes with it, and it’s a real selling point to be able to show a buyer that the chimney has been maintained and documented rather than neglected.
The Three Levels of Chimney Inspection, Explained
Not every inspection is the same, and knowing the difference helps you ask for the right one and understand what you’re paying for. The chimney trade recognizes three levels, and each serves a different purpose.
Level 1 Inspection
This is the standard annual inspection, done when you’re continuing to use the chimney as you have been and there’s no known problem. It covers the readily accessible parts of the system: the firebox, damper, smoke chamber, flue, cap, crown, and flashing, usually with a camera view of the flue. It’s the inspection that goes with an annual sweep.
Level 2 Inspection
A Level 2 inspection goes further and is what you want when something has changed: you’ve bought the home, changed the appliance or fuel type, had a chimney fire, or noticed a problem. It includes everything in a Level 1 plus a more thorough camera inspection of the flue and accessible areas, and it documents the condition in detail.
Level 3 Inspection
This is the most involved and is used when a Level 1 or 2 inspection reveals a problem that can’t be assessed without opening up part of the chimney or its surrounding structure. It’s targeted at a specific concern rather than routine use.
In practice, most Reno homeowners need a Level 1 inspection every year, and a Level 2 when they buy a home or after any significant event like a chimney fire or a major windstorm. Asking which level a provider is doing, and getting it in the report, is a simple way to make sure you’re getting what you need.
Building a Chimney Record That Follows the Home
A chimney record is more than a stack of receipts. It’s a running history that tells you and anyone else what’s been done, when, and why, so decisions about the chimney are made on evidence rather than guesswork. Building one takes almost no effort if you start now and add to it each time the chimney is serviced.
Keep a simple log with four columns: the date, the service performed, the inspection level (if any), and notes on what was found or recommended. Add the written report and photos each time. Over a few years this becomes genuinely useful: you can see whether creosote buildup is trending up or down, whether a recommended repair was done, and when the last full inspection happened. When you sell, the record hands the next owner a clear history. When you stay, it stops you from re-investigating the same questions every year.
The single biggest thing a record does is let you tell the difference between work that’s needed and work that’s being sold. If a provider recommends a repair, the log and the prior reports tell you whether it’s consistent with the trend. That’s why we work with professional-grade materials across the board, from HeatShield liner resurfacing to DuraFlex and Olympia Chimney liner systems, and match the material to the actual condition we find. The right fix for your flue is the one the camera evidence points to, and a good record makes that clear to everyone. For a broader look at how we approach chimney work in this area, see our Reno page.
Common Mistakes to Avoid
- Treating the annual sweep as the whole checklist. Sweeping removes creosote; it doesn’t catch cracking in the crown or a lifted flashing edge. Maintenance is sweeping and inspection, not one or the other.
- Skipping the March inspection. The freeze-thaw damage that accumulates over a Reno winter only shows up after the season ends. Skipping the spring look is how small cracks become rebuilds.
- Assuming a wood-burning appliance is the only one that needs attention. Gas appliances produce far less creosote, but they still need an annual inspection for venting, connections, and integrity.
- Burning wet or unseasoned wood. Wet wood makes more smoke and more creosote, which accelerates buildup. Seasoned firewood burns cleaner in any climate, and it matters here during the concentrated burn season.
- Not checking after a wind event. A displaced cap or separated flashing after a Washoe Zephyr is easy to miss and easy to fix if you check. Let it go, and it becomes a water or animal problem.
- Hiring a generalist for chimney work. Chimney systems are a specialty from crown to liner. A handyman handling it as a side job may not have the liner camera, the inspection training, or the right materials for what the flue actually needs.
- Keeping no record. Without a log, every year starts from scratch, and at resale there’s nothing to show. A simple record is the difference between a documented chimney and an unknown one.
See the difference
 Before
 After
 Before
 After
 Before
 After
When to Call a Professional
Some of this checklist a careful homeowner can handle: checking the cap from the ground, operating the damper, noticing draft changes, and keeping the record. But several situations call for a trained specialist, and knowing them protects both your home and your safety. Call a professional when you see smoke rolling back into the room, when you notice cracking in the crown or masonry that you can’t assess from the ground, when flashing has separated after a storm, when you suspect an animal is in the flue, or when it’s simply time for the annual sweep and inspection. Call sooner if there’s any sign of a chimney fire or a carbon monoxide concern. As a chimney-only specialist, we handle sweep, inspection, and repair as one integrated service, so you’re not coordinating multiple contractors. Reno Chimney Cleaning offers free estimates in Reno, and you can reach us at (844) 543-7293.
Frequently Asked Questions
Most Reno homes with a wood-burning fireplace need a sweep and a Level 1 inspection once a year. Because the burn season here is concentrated from roughly October through March, the best time to schedule is September, before the season starts. Gas appliances still need an annual inspection even though they produce far less creosote. Call (844) 543-7293 for an exact quote, and estimates are free.
The March post-freeze masonry inspection is the one Reno homeowners skip most and the one that matters most in this climate. The repeated freeze-thaw cycle over a Reno winter opens cracks in mortar, the crown, and flashing, and those cracks only show up once the season ends. Catching them in spring lets a repair be done in the off-season, before the next winter drives them deeper.
You can check the observable items yourself: draft behavior, damper operation, visible creosote in the firebox, the cap from the ground, visible crown cracking, and flashing condition. What you can’t check is the inside of the flue, hidden liner cracks, deep creosote, and the smoke chamber, all of which need a professional inspection with a liner camera. Your own checks help you notice changes early, but they don’t replace the annual professional inspection.
After a sustained wind event, check the cap, spark screen, and flashing for displacement or separation, look for fresh debris or spalled masonry, and notice whether the fireplace still draws properly. If you find a displaced cap, separated flashing, or signs of an animal in the flue, keep the fireplace out of service until a specialist has looked at it. Give us a call at (844) 543-7293 and we’ll assess it.
Ask for a written inspection report that lists the inspection level and the condition found, photos or a camera report of the flue, the sweep record, any repair recommendation in writing with a note on whether it can safely wait, the materials and brands used for any repair, and the written estimate. Keep all of it in one file, so the record stays complete and can travel with the home when you sell.
A repair is needed when the inspection evidence shows it: visible liner damage, a crown that’s cracked through, or flashing that’s separated. Ask to see the camera report and the photos, and ask plainly whether the work can wait. A specialist should be able to point to the specific condition that justifies the repair, and should tell you when the honest answer is that the work can safely be deferred.
The Bottom Line
A chimney maintenance checklist for a Reno home works best when it’s timed to this climate, not to a generic seasonal benchmark. Sweep and inspect in September before the burn season, watch the observable signs through the winter, inspect the masonry and flashing in March once the freeze-thaw cycle eases, and handle repairs in the off-season. Keep a simple record as you go, and get the right documentation each time the chimney is serviced. Add a professional annual sweep and a Level 1 inspection to that rhythm, and you’ve covered the whole system from crown to liner. None of it is complicated; it just has to be timed right and written down.
Ready to get your chimney on the calendar? At Reno Chimney Cleaning we handle sweep, inspection, and repair as one integrated service, using professional-grade materials matched to what your flue actually needs. Call (844) 543-7293 for a free estimate. We answer 24/7, and fast dispatch from 7am to 7pm, Sunday through Friday.
Written by the team at Reno Chimney Cleaning.